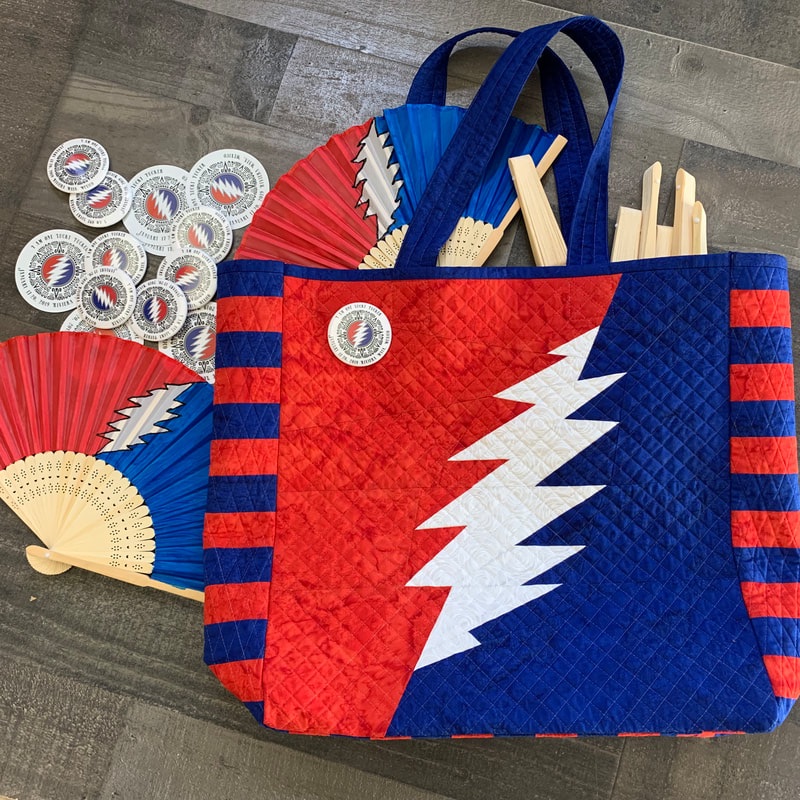
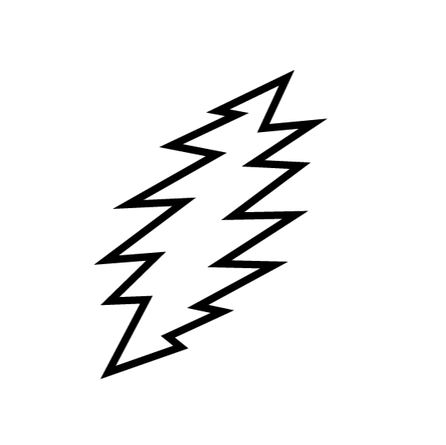
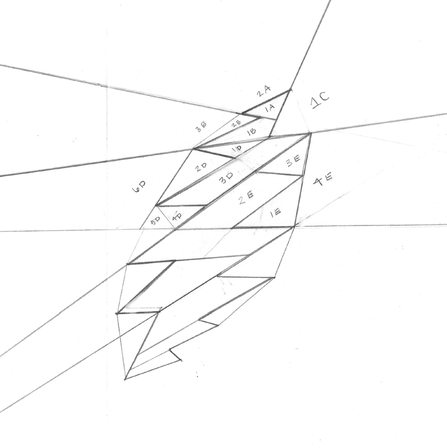
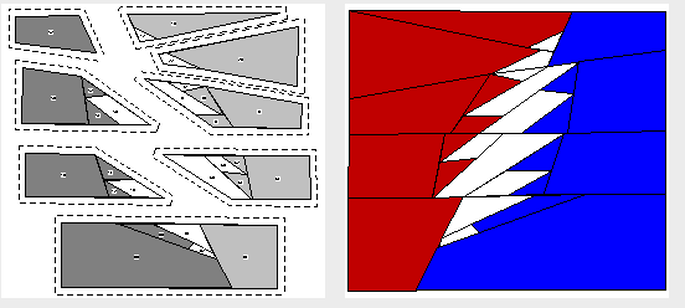
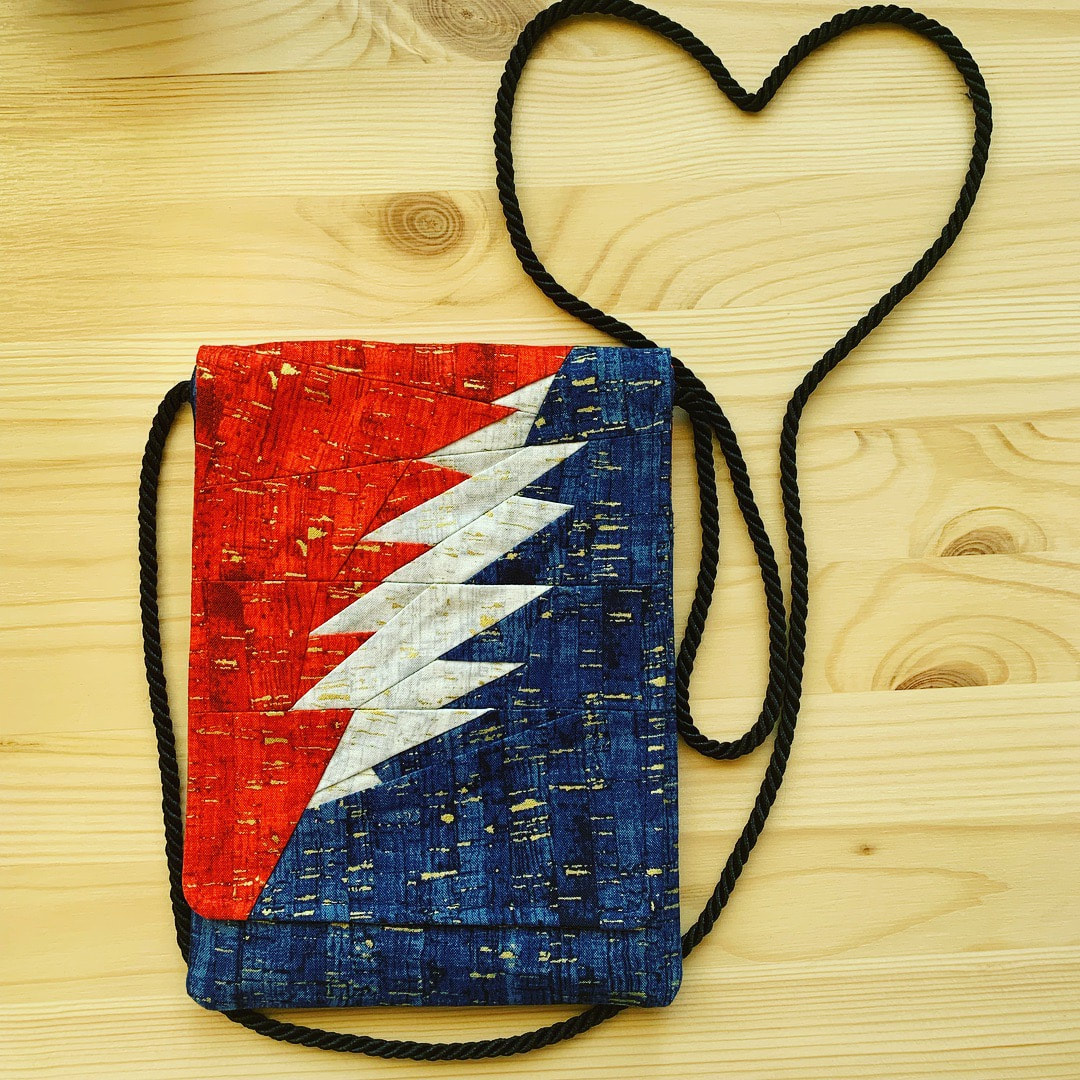
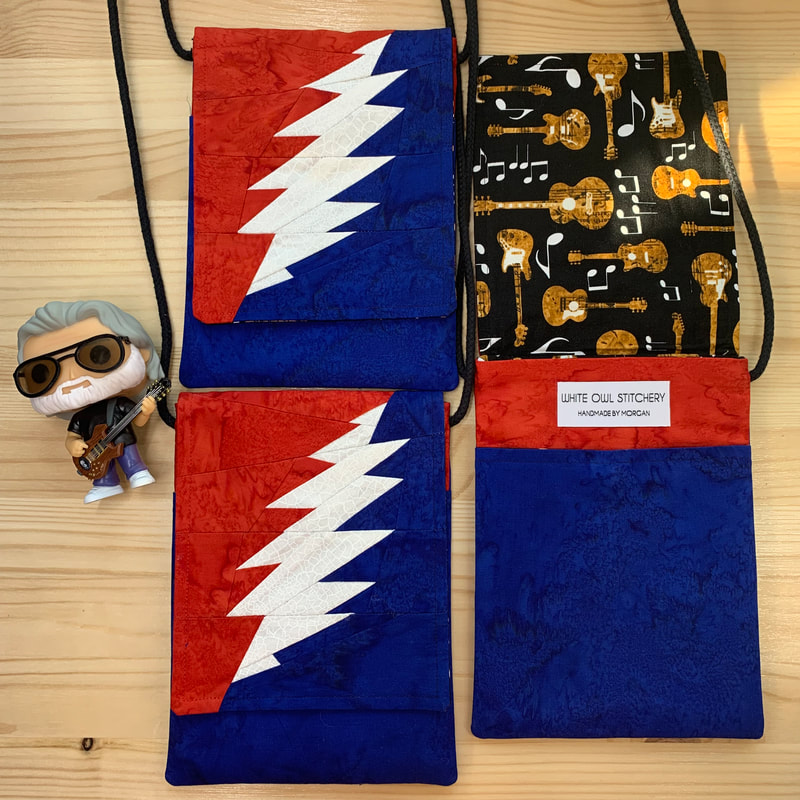
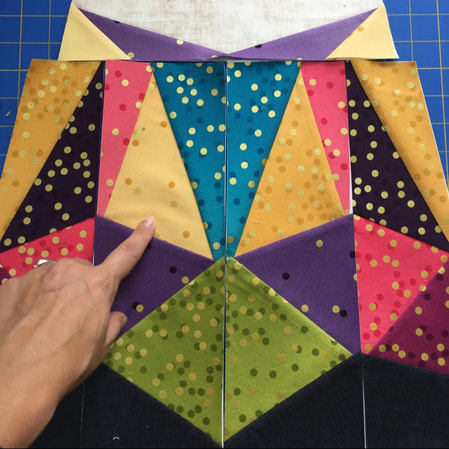
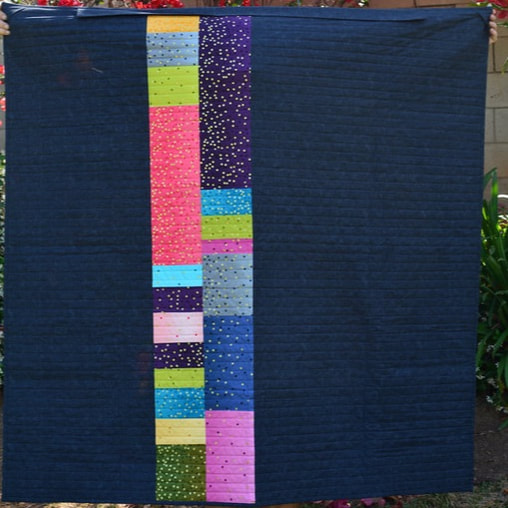
Steal Your Face Tote: A peak into the process of creating a foundation paper piecing pattern.3/7/2019 A new tradition has started for our family. The beginning of each year we travel to Mexico to spend four days soaking up the sun, splashing in the waves, and dancing on the beach. The annual Playing in the Sand concert vacation with Dead and Company has become a "must-go" for us. The Grateful Dead have been around for decades in one form or another, no matter what the band name is, the community is still the same. The crafting of small items to gift to random strangers is a long standing tradition that still lives today. This year I brought buttons, magnets, stickers, and a few dozen hand-painted fans as my gifts. This awesome swag needed a special bag and thus the idea to create a one of a kind tote bag was born. The 13 pointed lightening bolt is iconic and I knew I had to get it just right. The angles of the points would be tricky for sure, so to start I printed off a plain black and white copy from Google. I hand traced it, and began to section the image, breaking down each section in to individual patches. For detailed, step by step instructions on how to section an image for paper piecing, I recommend Sarah Elizabeth Sharps book Adventures in Paper Piecing and Design. She does a wonderful job explaining the process and has lots of practice lessons. Once I was happy with the sectioning, I scanned the image back to the computer and opened the file as a Tracing Layer for a new block in Quilt Pro Systems. Using the polygon tool, I began creating the patches for each section over my scanned Tracing layer. Once the block was finished I used the foundation building tool in QPS to section and label each piece before printing at my desired finished size. Now that I have the pattern worked out, the size of the finished block can be adjusted before printing. I made a few smaller versions that are perfect for a concert or a stroll through your favorite fabric store. If you haven't already attempted to create your own FPP, I hope this gives you the confidence to do so. May inspiration move you brightly!
2 Comments
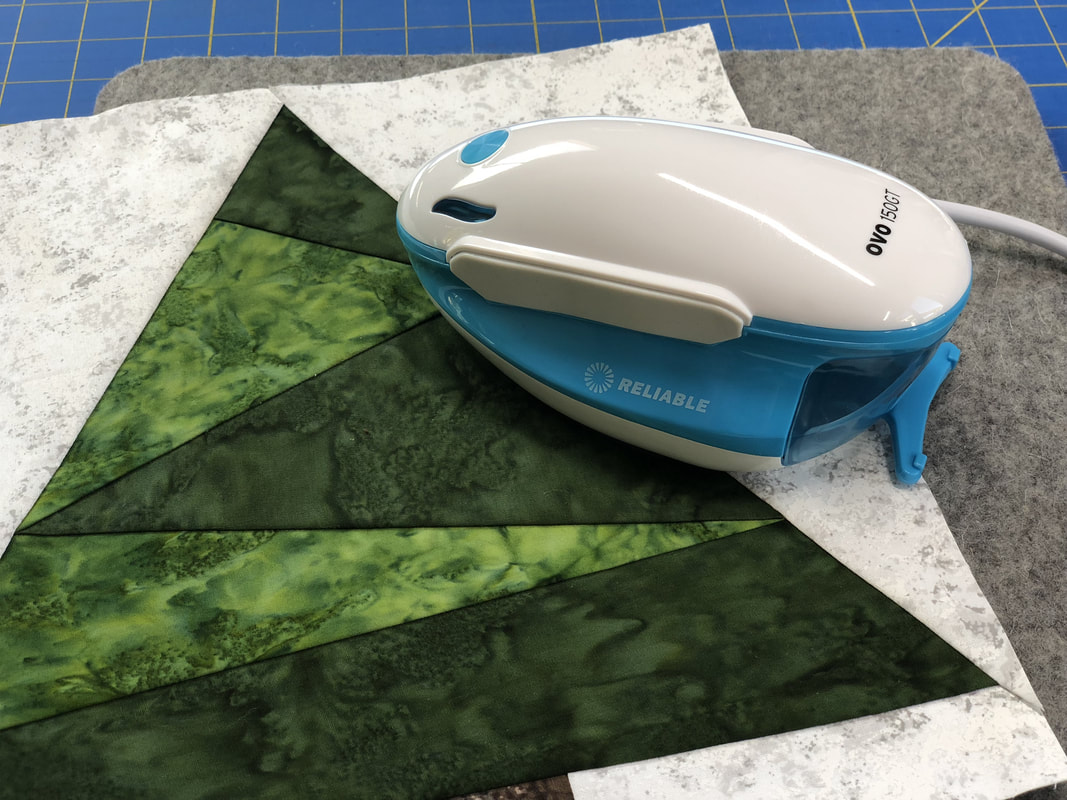
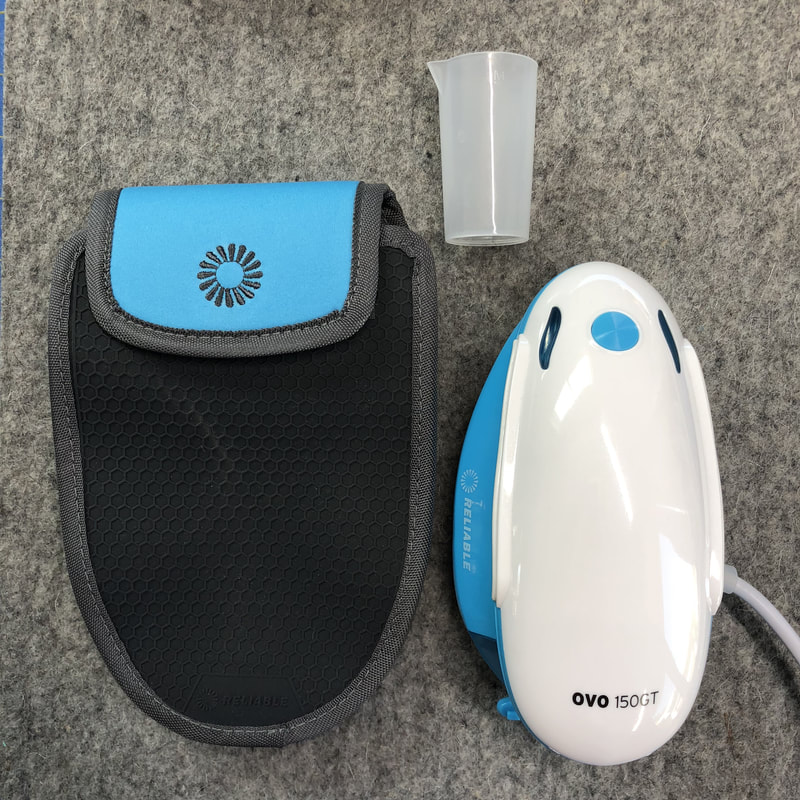
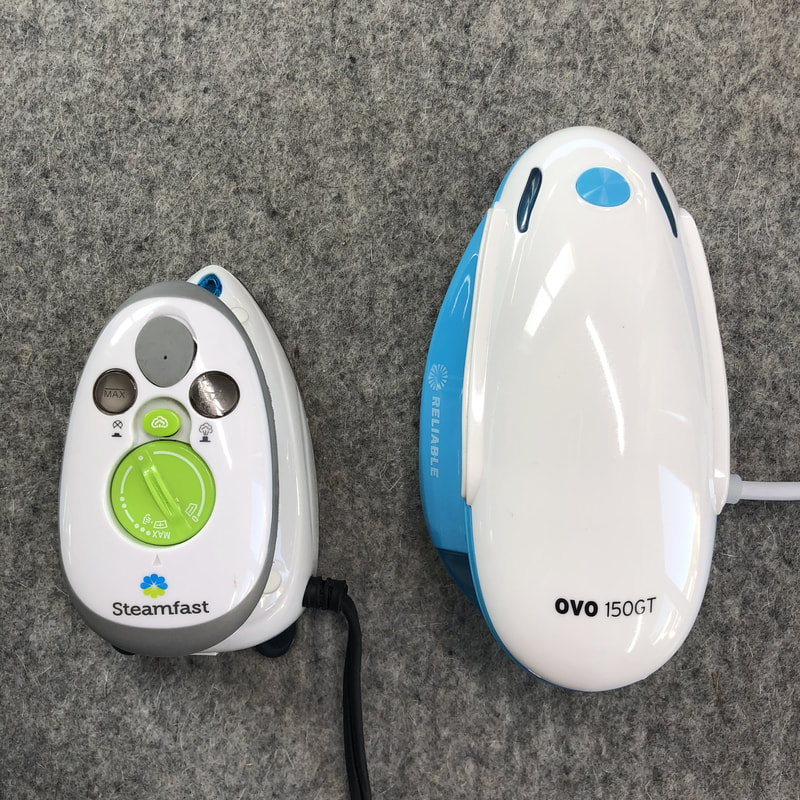
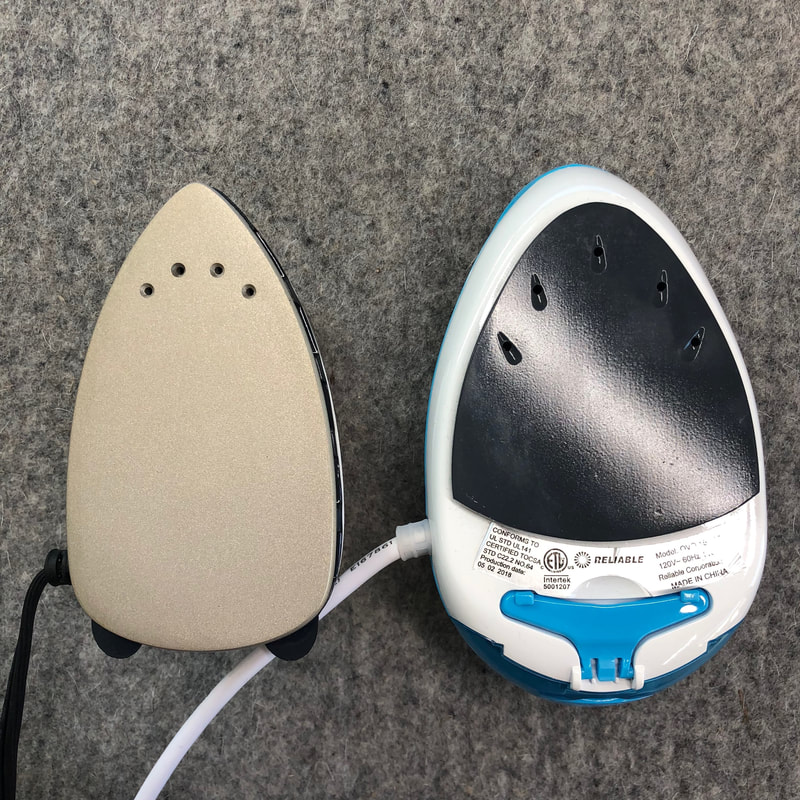
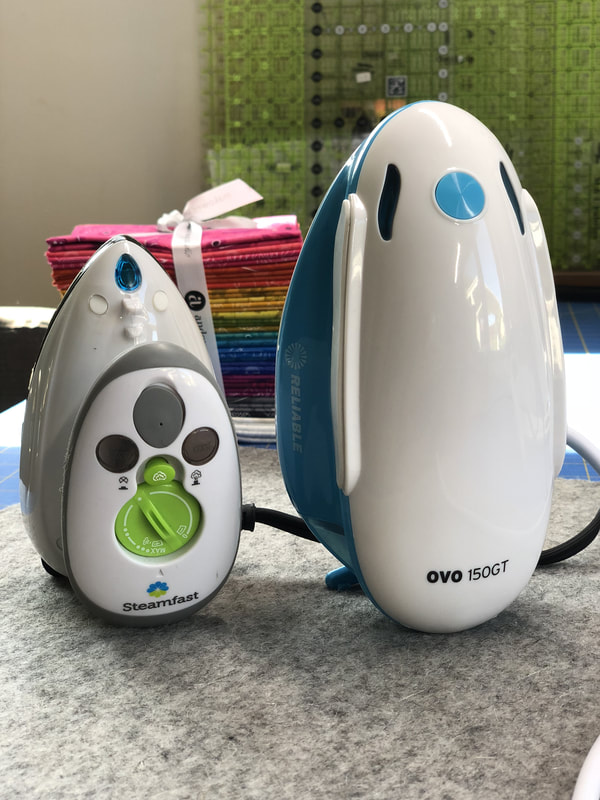
Do you travel to retreats? An avid foundation paper piecer? Maybe you travel for work? The new travel iron from Reliable might be your next best friend. I don't get to travel to quilt retreats or classes often but I love foundation paper piecing. Having a small travel iron combined with a Wooly Felted Wonder ironing mat, speeds up the process considerably. I keep both right next to my machine so that I do not have to jump up and down to iron each piece. I have owned the Steamfast for over a year and was really excited when I heard Reliable had designed a travel iron. I already own and love a full size Reliable Velocity 200IR so I jumped at the opportunity to test out the new OVO. In the box you will find the iron, a small cup for filling the steam tank, removable lint brush (not shown), and a handy case. The case has a heat resistant silicone cover on the top which allows you to set the hot iron down. The iron comes equipped with a kickstand, allowing the iron to stand vertically as well. Like myself, many of you may already own the Steamfast travel iron and are curious about the new OVO. The OVO is nearly twice as big as the Steamfast and a bit heavier. The OVO fits very comfortably in hand, and unlike the Steamfast, the outer shell of the iron does not get as hot to the touch. I found with my Steamfast that they only comfortable place to hold it was the rubber rim around the top. The soleplates are quite different, and I won't say that it didn't take me some time to get used to not having a point on the end. The nose of the OVO sticks out over the soleplate, which took some getting used to. The Steamfast heats up faster than the OVO but the steam capabilities of the OVO are far superior to the Steamfast. Both the Steamfast and the Reliable OVO are great travel irons. If you are looking for light and inexpensive, the Steamfast, which retails at $29.99, may be your best bet. If you want a higher quality travel iron and don't mind sacrificing a little size and weight, the OVO, which retails at $49.99, is a better option. Personally, I have found I reach for the OVO without hesitation now; it's sleek design and fit-in-your-hand sizing make it perfect for on the road or in the studio. Happy sewing!!!
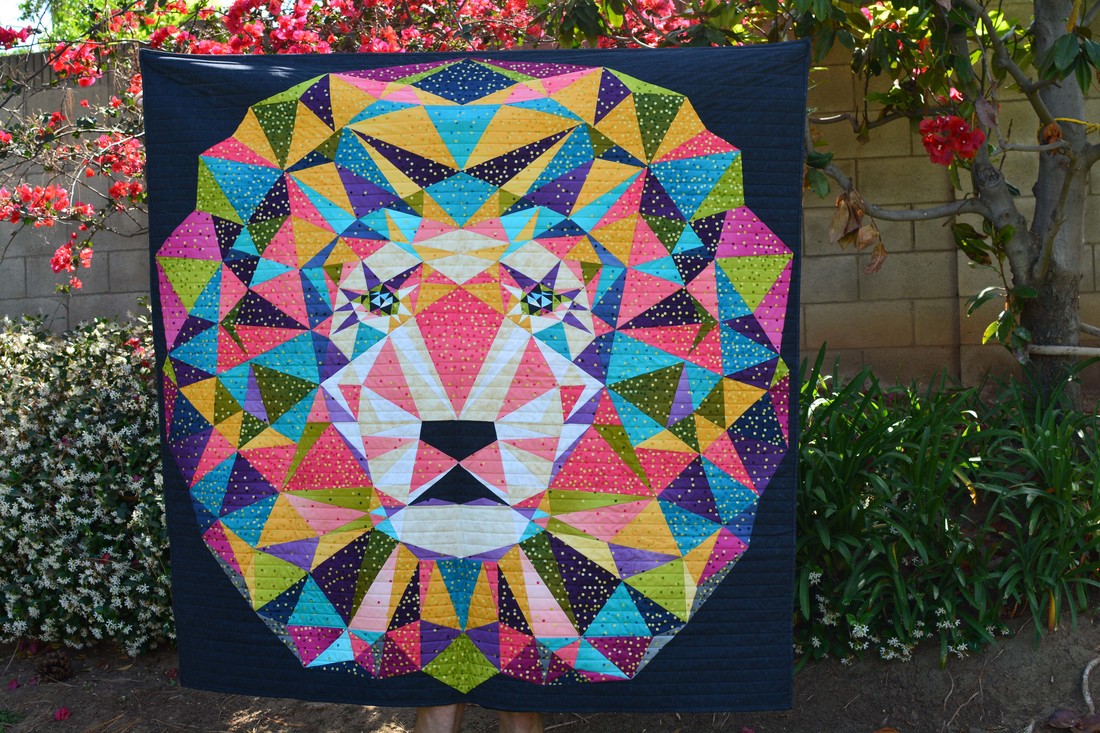
I can't think of a better way to kick off the launch of my new blog than with this fun quilt!! I am over joyed to finally share my rendition of Violet Craft's Jungle Abstractions: The Lion! I have aptly named him Kaleidoscope King, although I really wanted to call it "I am the Walrus" but was afraid there would be too much confusion. I first bought this pattern at QuiltCon 2016 in Pasadena. I had absolutely NO clue how to paper pieces but I was so enamored with the geometric design and scale of the design that I bought it anyway. Fast forward two years, an FPP class or two, a sparkly bundle of Vanessa Christensen's Ombre Confetti Metallic and voila! a vision began to emerge. I printed off the coloring sheet, grabbed my markers and began matching the markers to the fabrics. The resulting coloring sheet looked like a hot mess but I could see that my vision was going to work.
|
